I've had several readers ask me how I make my collages for the
We Heart Wednesday posts. I figured I would try my hand at my very first tutorial, and show you how I do it!
How to Make a Collage Using Picasa 3
Step 1: Download Picasa 3
Step 2: Open Picasa, and select the file where your photos are stored from the menu on the left. Then select the photos that you want to use for your collage. (You can select more than one by holding down Ctrl while clicking on the photos). Then click on the Collage button at the bottom of the screen.
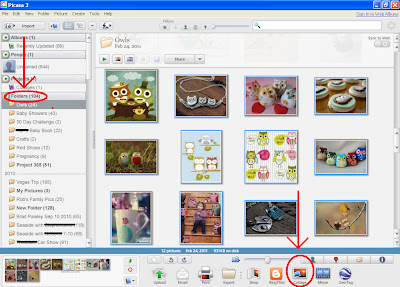 |
| Click on the photo to view it larger |
Step 3: You will be brought to a screen similar to this one. Select which type of collage you would like to use from the drop down menu on the left. I use the Mosaic style for most of my posts.
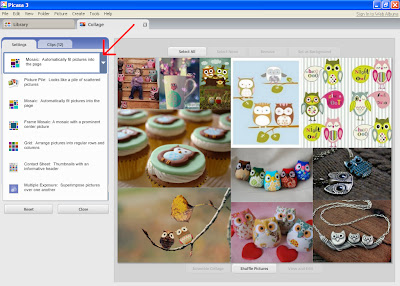 |
| Click on the photo to view it larger |
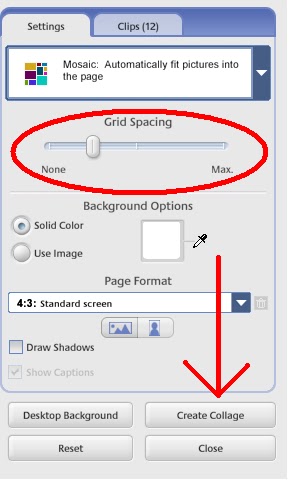
Step 4: Using the section on the left, you can customize your photo however you like. I usually add some white space between each photo using the slidebar. If you using the Picture Pile layout, you can add different types of borders to your photos as well. At this point, you can also rearrange your photos. You can either click "Shuffle" at the bottom of the screen, or you can click on each individual photo, and drag them wherever you like. In the Picture Pile layout, you can also make the photos larger, and rotate them, all my clicking and moving the mouse. When you are done adjusting, click "Create Collage."
Step 5: Save your collage by going to "File>Save As" and you are done!
So.. what do you think? More details? Less? Please let me know!!


1 comment:
Oh I see! Thanks! I was always wondering. So they all have to be in one folder it seems.
P.S. Love those owls. They're so cute!
Post a Comment